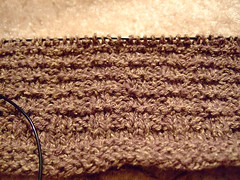
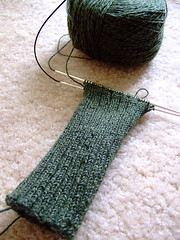
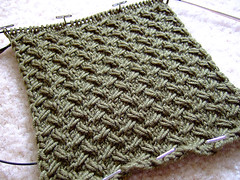
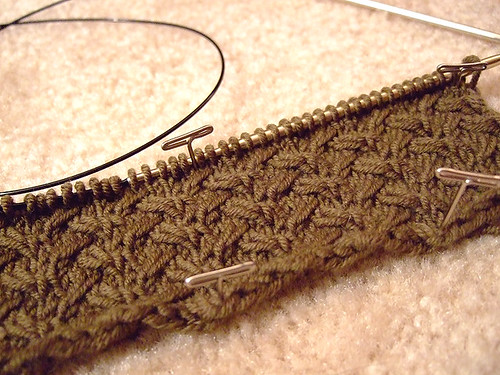
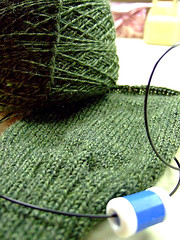
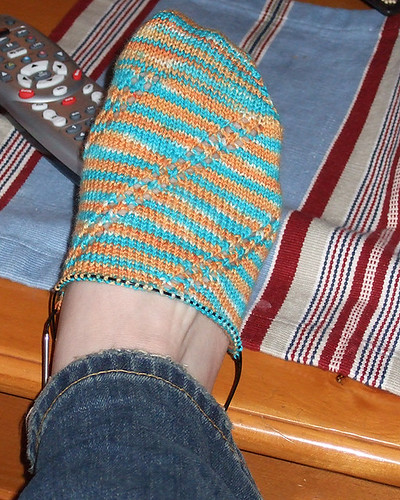
The scarf is called Shifting Sands. Free pattern by Grumperina, y'all!
Go get it! My yarn is Jaeger Extra Fine Merino DK. It's quite lovely.
It really helps if you can cable without a cable needle, and it really really helps if you do the following handy-dandy trick INSTEAD of cabling. It looks the same and has been road-tested on this scarf. It works, y'all! First, some explanation:
The pattern gives two cable instructions:
1/2LC: slip 1 st to dpn/cn and hold in front, k2, then k1 from dpn/cn.
1/2RC: slip 2 sts to dpn/cn and hold in back, k1, then k2 from dpn/cn.
For a good picture tutorial on cabling without a cable needle, click
here. Though this is mildly terrifying, it is not fatal and it is easy to do. Try it! You'll be speeding through your cables in no time!
Many people would be baffled about how to do this with an odd number of stitches. A 2/2LC without a cable needle is easy after reading the tutorial and trying it out, but what in the world do you do with a 1/2? That's why I'm posting. To make your life easier! (Because I personally was baffled, and couldn't even figure out what to google search FOR; I am leaving this for posterity.)
To do these cables without a cable needle you reverse the number AND the direction. So where it says 1, you slip 2, and where it says back, you go in the front. This is your rule of thumb that will work every time.
For this walk-through you need some sticky wool, appropriate needles and a teeny glass of dutch courage if you are afraid.
For a 1/2LC, you go in the BACK.. Look at the next 3 stitches. Call them 1, 2, and 3 going right to left. Slip your right needle into stitches 2 and 3 with your right needle at the back of the work. Pull them off the left needle, including stitch 1, which will be loose, but won't go anywhere - and real quicklike pick up stitch 1 with the left needle again. It will be in position 3. Slide the other two stitches back onto the left needle. Knit across the stitches. Now this is what I'm talking about - instead of slipping one stitch to the cable needle, you slip two stitches to your right needle. The one "free" stitch is what would have gone on the cable needle. You do this by going in the backs of the stitches.
To do a 1/2RC, you go in the FRONT and pick up stitch 3 with the right needle. Slide all 3 stitches off the left needle and pick up the loose 2 with your left needle, then slip #1 back. Knit across the stitches. This time, instead of slipping two to the cable needle, you slip one to your right needle and let the two get picked up. You do this by going in the fronts of the stitches.
Slip all the stitches purlwise whenever you slip. Ok? Try it! I'll wait.
Now I'm going to show y'all the neatest trick I've ever accidentally discovered. It will work and be indistinguishable from the above method, or the cabling with a cable needle method. I call this my 'we hate cabling altogether' method although somebody somewhere has SURELY thought of this before. So are you ready? It helps to have some knitting handy to visualize this, because I don't have a tripod and because you know like everything else, knitting instructions don't make sense till you do them.
This works especially well for knitters who are absolutely sickened at the thought of purposely dropping stitches off the needle, because you don't have to do that to do these, and hey! no cable needle!
Let's start with the 1/2RC.
So what we are looking for in that 1/2RC is a cable where the leftmost stitch of the three becomes the rightmost stitch on your right needle. Right? All a cable is is swapping the order of your stitches. For this cable, instead of 1-2-3 going right to left, we want 3-1-2. And because 3 stretches slightly it will make a lovely twist.
(Let me interject here that you still need to think in terms of going at a right or back cable from the front, and a left or front cable from the back, because you are working the opposite stitches from what you would place on the cable needle.)
So...what you are going to do for this is knit stitch #3 but don't take it off the left needle, then knit stitches 1 and 2, in order. Once you have finished stitch 2, let them all drop off the left needle. (You may have to drop stitch one off after you knit it to get into stitch 2. The important thing is, don't drop off stitch 3 till last.) Do it...I'll wait. So, it reiterate, we want the rightmost stitch (#3) to be the last stitch we knit. If it is, the stitch will stretch and angle diagonally to the left...a left crossing cable.
Did you SEE what you just did? You did the exact same motion as cabling with a cable needle and cabling without a cable needle...exactly! And how easy was that ? So easy that the first time I did it I thought I must be screwing up.
Now for the 1/2LC. Normal cabling instructions say to put the slipped stitch to the front, so we are going in the back. The back? Yes. This puts the rightmost stitch over to the left so it angles diagonally. Therefore, we want that first right stitch, the one that is supposed to angle over, to be the last one we knit of the three. Those 1-2-3 stitches have been knitted 2-3-1. The result is that your knitting will angle right - a right crossing cable.
Here's how to do that...knit stitch 2 and stitch 3 in order THROUGH THE BACK LOOPS, knit stitch 1 and let them all drop off your left needle. By some paradoxical quantum leap I am not qualified to comment on, your stitches will not be twisted on the return row.
I absolutely 100% Mean Girl Guarantee™ that this will work, and will be completely indistinguishable from the cable-needle and no-cable-needle versions. But you have to Try. Be Brave. Consider that you will simply rip out all the knitting you just did anyway. I suppose it could be done with a 2/2 cross in either direction, but I haven't tested it, so those aren't MGG™.
But you'll be addicted to it. And man, I need a tripod!
