This is a post I've been meaning to do for quite some time - we all know that everybody looks different in summer and winter, and summer beauty/makeup/fashion is usually a lot more effortless than winter. (Personally, I much, much prefer fall and winter in nearly every way.) Most people also feel different in winter than summer. So how do you winterize your life?
I'll begin with some ground rules, for anyone not already familiar with my sensibilities. The first is to put your expectations in keeping with the real world. Photos lie. Professional stylists and makeup artists are paid $75-$125 an hour here in Nashville to handle a person's clothing and makeup. During the typical album cover photo shoot, you will have at the very minimum a makeup and hair person, a stylist, an art director, a photographer, several assistants, a hospitality manager, and various other people. Every single one of them is skilled - highly skilled, as in chosen profession - of making Faith or Brad or whoever look like the recognizable celebrity you know (it's harder than you think) and creating absolute perfection in an image.
Photos are fantasy. Get that out of the way. Chances are you will never be able to achieve that level of fantasy yourself. Chances are also good that no matter how thin you are you will never even begin to approach the way a fashion model is built. So leave that behind. We are going to make the best YOU we can make - not make you into a fantasy.
Your house has to be lived in, and won't be showroom-perfect or even immaculate most of the time. But you can freshen it up, even when it's cold, snowy and miserable outside.
So without further ado...
1. Winterize your body by winterizing your diet. This is a no-brainer you hear all the time, but it's true - you need fresh fruit and veg, fiber, nuts, unprocessed food and water to be healthy. These foods do the job of getting crud out of your system and repairing cell damage. Look for brightly colored fresh food. Winter or summer veg are fine, just be in the habit of eating them every day. It will show on your face and in your body. Don't neglect good fats, either - sunflower seeds, for example, contain essential fatty acids that help your body process bad fats. They will do more than you can imagine to make you feel healthy.
2. Winterize your skin. It's possible you may need a heavier moisturizer. Don't be afraid of moisturizer with oils, just don't use any kind of "moisture" on your skin that contains mineral oil. Mineral oil has a tendency to dry your skin out over the long term. My personal favorite is Hope In A Jar (Philosophy). It's a bit pricey but very nice, not too thick or clingy and contains lots of goodies for your skin. If you're more of a drugstore-product gal, it's worth the money to buy Oil of Olay. As far as I have been able to tell, their Regenerist line is one of the few skin care lines proven to do what it actually says. Don't waste your money on La Mer. Don't shower in super-hot water, either.
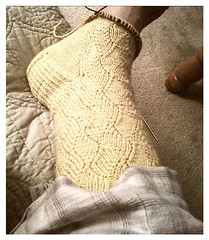
3. Winterize your hands. Hands are one of the first places winter weather begins to take its toll, and once they start cracking and bleeding it can be very hard to heal them. Make sure you have a good hand cream on hand (ha ha) - I like Neutrogena's Hand Cream and Aveda Hand Repair - both stay on through repeated washings. Next, you'll need liquid soap, about a half cup of table sugar, and some olive oil. Suds up your hands with the soap and scoop up a big handful of sugar. Wash your hands normally - not too hard. The mixture will turn white. Rinse with warm water. Your hands will feel very smooth. If they're exceedingly dry, a few drops of olive oil worked in will do wonders. If not, use the lotion, and reapply it anytime throughout the day that your hands feel dry. Knitters, now is the time to pull out some lanolin-rich wool and work the lanolin into your hands...they will thank you. I would do the sugar scrub no more than twice a week.
4. Winterize your hair. The best advice I can give you in this department is
do not wash your hair every day. (In fact, I'd only ever advise washing your hair every day if it's summer and you're outside exercising hard.) Every other day is absolutely fine for most people. If you're scared of looking or smelling manky, fill a spray bottle with five ounces of water, a tablespoon of witch hazel, and about 15 drops of lavender essential oil. (Or use Bumble & Bumble Prep.) Tip your head over and spray the underside of your hair. Stand back up and do the top. Now DO NOTHING for the next twenty minutes. Don't brush it - it will kill your existing style. Once it's dry, you can restyle your hair. You can wet your hair down and restyle - no shampoo. Just don't use the old high-school baby powder trick. Do you really want your hair smelling like a baby's bum? I didn't think so.
5. Winterize your hair colour. Last summer you loved your colour - now it's January and you're feeling washed out. This is all down to what's called contrast level. Your hair is one colour, and your skin is another. The difference between the tones in your hair and skin is the contrast level. Dark hair and pale skin = high contrast. Blonde hair and golden skin = low contrast. Chances are, your contrast level changed because your skin lightened up a little. You might feel the urge to make your hair lighter to compensate - but don't! You should actually go a shade or two darker. Increasing your contrast level will help you look better in your winter clothes - usually neutral - and will help you handle the darker makeup you're wearing. You can darken your lipstick and play a bit more with dramatic eye colour in winter. Generally speaking, highlights in the wintertime aren't a good idea. First, you'll indicate to everyone around you that your hair is dyed. Second, most people don't need a light-boosting lift in the winter. That's a summertime trick. If you don't colour your hair, now might be a good time to experiment with henna. It's messy and you have to do it right, but it can be a lot of fun. Check out Les Cacas over at Lush.com. Blondes might want to go a little blonder in winter - bringing their skin and hair colour closer together. If you are a porcelain girl - blond hair and the palest white skin, like a certain actress named Nicole - then you might carefully go from blond to gold or blond to strawberry blond. But if you go up too much it will be horrid. Be careful.
6. Winterize your...eyes. Ladies, wear your sunglasses in winter. It isn't just the risk of going snow-blind (a sunburn on your retinas caused by sunlight on reflected snow). UV damage to your eyes in winter can be just as bad as in the summer. Also, you don't need to squint. It won't help your look or your skin care regimen.
7. Winterize your makeup. It's a good idea to have your foundation tested to find your shade. I also seem to always change concealer shade in the winter. Look for a yellow-based foundation (yes, even you Asian girls! Pink skin never helped ANYBODY). If you are doing your own test, buy or test the two or three colors you think will work best on you. Using your finger, apply a strip of it vertically to the side of your face. Blend. The one that disappears WHEN YOU ARE IN DAYLIGHT is your colour. Do not test makeup under fluorescent, halogen, or other artificial light. If it looks good in daylight, it will not fail you under any other light. Keep your makeup more on the classic side in the winter. And use some type of bronzer - not a ton, just a bit - whether it's Warmth or a Shimmer Brick compact or even the great, great bronzers Sonia Kashuk has. It will really keep your look going. Darkening your hair will keep you from having to change makeup colours.
8. Winterize your wardrobe. I don't even really need to say much about this. Do try on unexpected colours. I never thought a gray wool coat would work on me, so a couple of years ago I got a really nice camel one. This year, I tried on and bought gray. It's amazing how much better it looks on me than the camel.
9. Winterize your exercise plan. I'm an outdoor girl - I don't like gyms and I'm happiest when sweating outside. But with a 17-degree wind chill, I'm just not going to go do the actual work. So I have some indoor tapes (a Kathy Smith indoor walking DVD) and an Indo Board balance trainer. And I can go to the workout room at my apartment complex. Not saying you have to join a gym or buy your own machines - just have a backup plan. The trick is to plan. Exercise is good for you on so many levels and it's the easiest way there is to take really good care of yourself physically. Just go for a walk. And having a cold is no excuse - recent research says that exercising during a cold does not prolong your cold or make you feel worse.
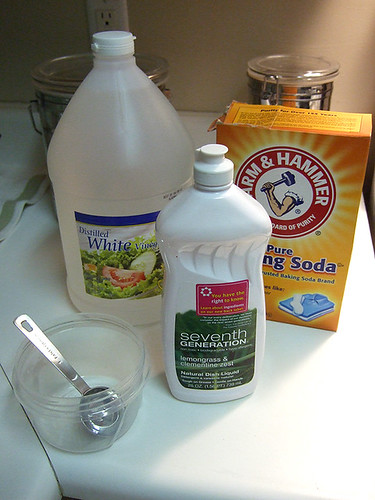
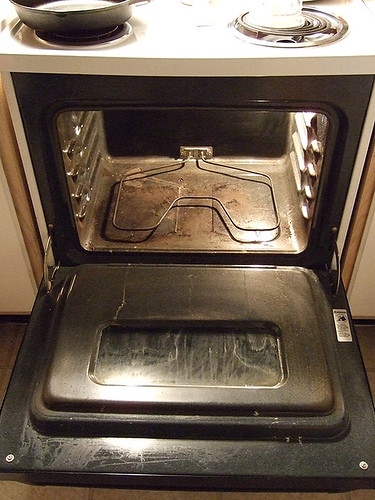
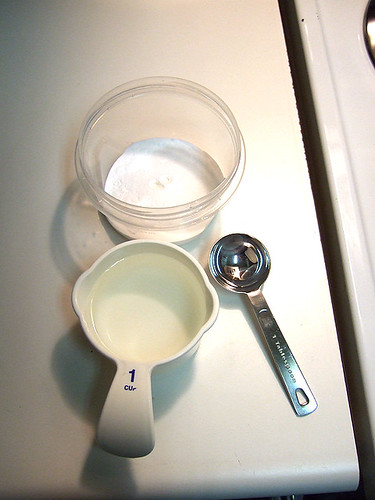
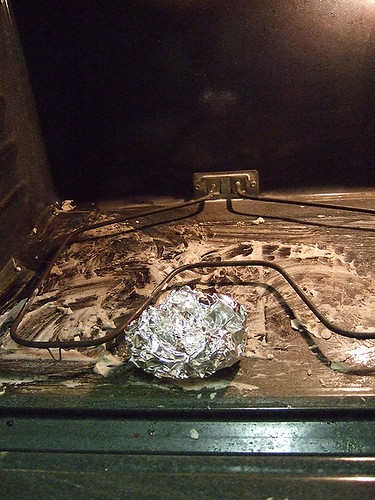
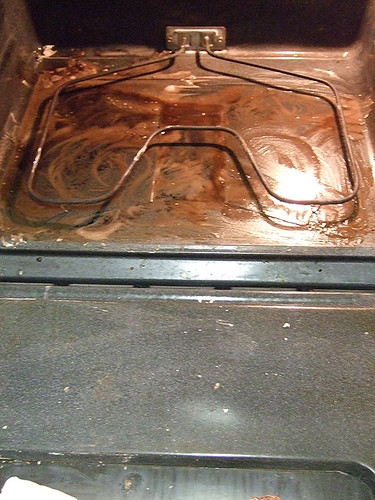
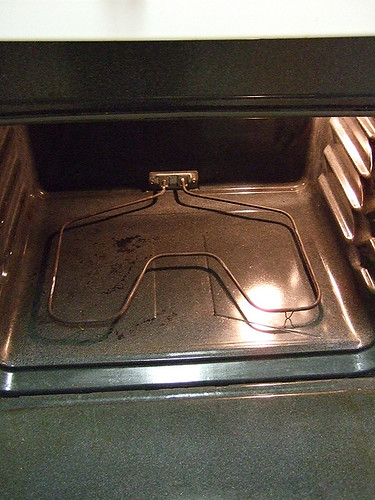
10. Winterize your household routines. I know - this one is kind of dumb. But it seems like every winter I am taking apart the oven to clean it, scrubbing behind doors I haven't thought of in months, and that my apartment is perpetually dirty. Watch Kim & Aggie on the BBC for some great cleaning tips. Buy a box of baking soda, a bottle of witch hazel, corn starch, some non-concentrated, natural dish soap, a box of Tide, a bottle of bleach, and a gallon of white vinegar. You can clean everything in your house including the toilet with these. (How did Granny get the house sparkling with no Scrubbing Bubbles? There's your hint.) All this stuff is dirt cheap and with the exception of the Tide and bleach, it's all-natural. Storing messy chemicals under your sink isn't good for breathing. Mix baking soda and vinegar for a sink-scrubbing foamy cleaner. Use baking soda where you'd use scouring powder. Put vinegar in your dishwater to make your sink and stainless shine. Mix up a dab of cornstarch in hot water, spray down the windows and mirrors, rub with a cloth and polish. You'll never buy windex again. And - the horror - get a dedicated sponge for cleaning the toilet. Put in a bit of Tide, a glug of bleach, and let it sit. Then scrub your toilet. No need to bother with cruddy toilet brushes. Flush it all down and you'll be amazed at how clean your potty is. Then use Tide and water to scrub the outside. Use rubber gloves.
Witch hazel cuts grease; cornstarch absorbs it; baking soda freshens and acts as natural scouring powder; dish soap is good for everything, from washing the sink to cleaning out the litter box; and vinegar or lemon juice works to cut the greasiest grease. You really don't need to spend money on cleaners. The one exception I'd make is countertop wipes. They are quick and easy, and they do the trick.
There's my monster article - hope you like! Happy winter!